Googling ‘engravers vice’ turned up photos by Joe Paonessa and a couple of Engraver’s sites which had pics of said type vice.
 |
 |
|
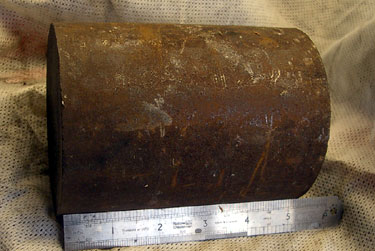
A 5"length of 4" dia. mild steel from the scrap box. I spoke nicely to a mate with a real machine shop with a 'proper' band saw who cut off the required lengths.
|
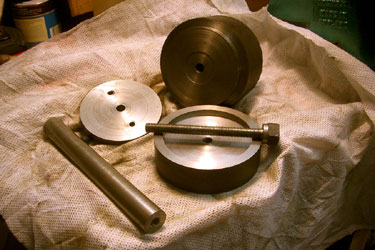
On to the Myford and spent the day nibbling the lumps to size, machining the spigot & recess and turning up a mandrel to hold the bits
|
 |
 |
|
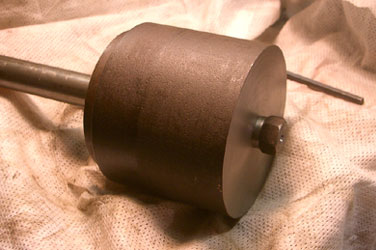
All the bits mounted on the mandrel. I have to admit that the first mandrel was a bit on the thin side and sheared off! so had to make a bigger one (see next image)
|
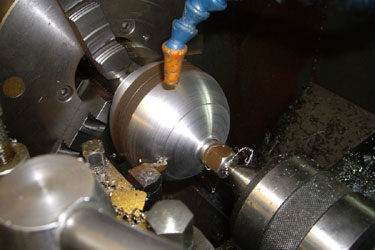
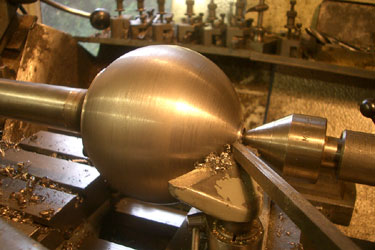
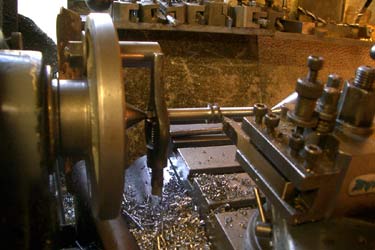
Turning the ball on the CNC lathe. With the lathe programmed my input was to turn the handle for the first 40 cuts (reduce the time taken for the partial cuts) with the last couple of cuts on auto & flood coolant.
|
 |
 |
|
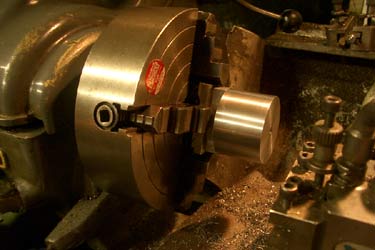
Back home on the Myford to hand turn away the spigot left by the mandrel nut.
|
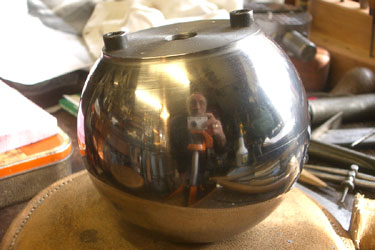
Getting there after several hours with emery, wet/dry paper & chrome polish (thoughts of M.C.Escher's self portrait)
|
 |
 |
|
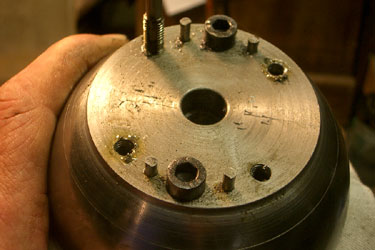
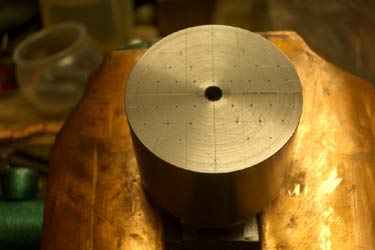
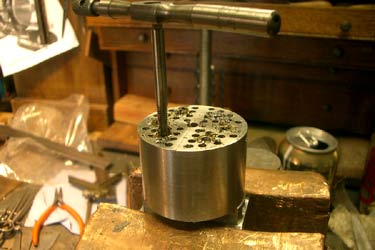
Tapping the remaining holes in the top plate, locating dowels fitted.
|
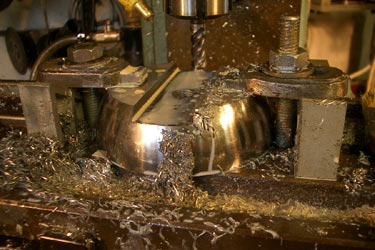
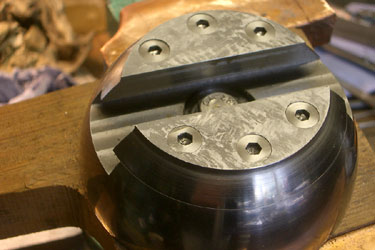
Milling the T-slot in the top part of the ball.
|
 |
 |
|
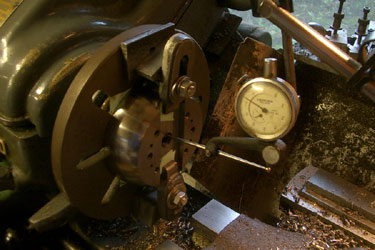
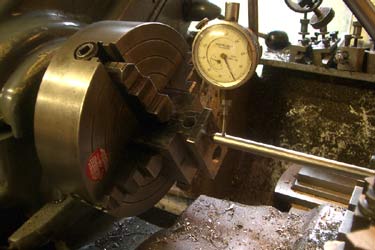
Clocking the centre hole to bore the recess for the centre post.
|
T-slot completed.
|
 |
 |
|
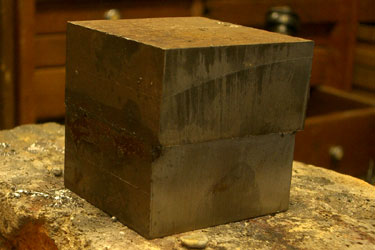
Steel blocks soft soldered together for machining the holder.
|
Holder T-slot cut & fitted.
|
 |
 |
|
Clocking one of the holes for the threaded slugs.
|
Turning the holder (2 parts still soldered together)
|
 |
 |
|
Marking out for the pin holes on the holder.
|
Pin holes drilled & reamed. Extra holder holes tapped 2BA.
|
 |
 |
|
Screwcutting the left hand thread on the adjuster screw.
|
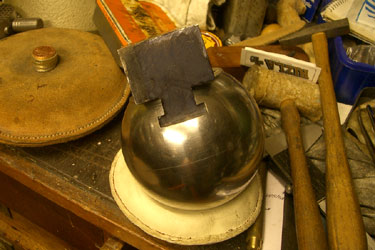
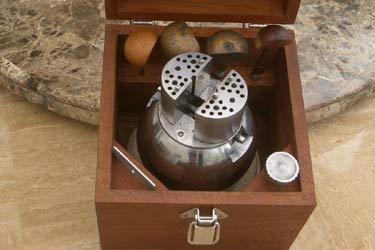
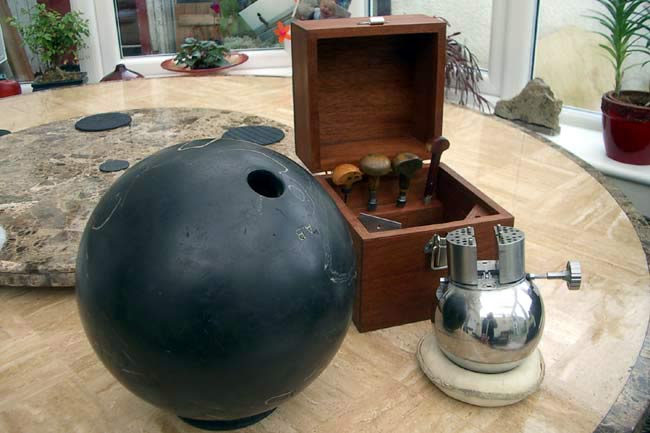
Finished vice.
|
 |
|
Now I have made it I guess I will have to make a bigger one to hold this so I can engrave my name on it.
|